Rationale
This assignment is intended to give students experience in three areas that are fundamental to engineering graphics:
1) The ability to make accurate measurements.
2) The ability to make a working drawing that conforms to industry standards.
3) The ability to read and understand a working drawing.
Additionally, this assignment gives students an understanding of how engineering documentation is used, and how to work with other people to solve problems.
Assignment
Phase I – Make a print
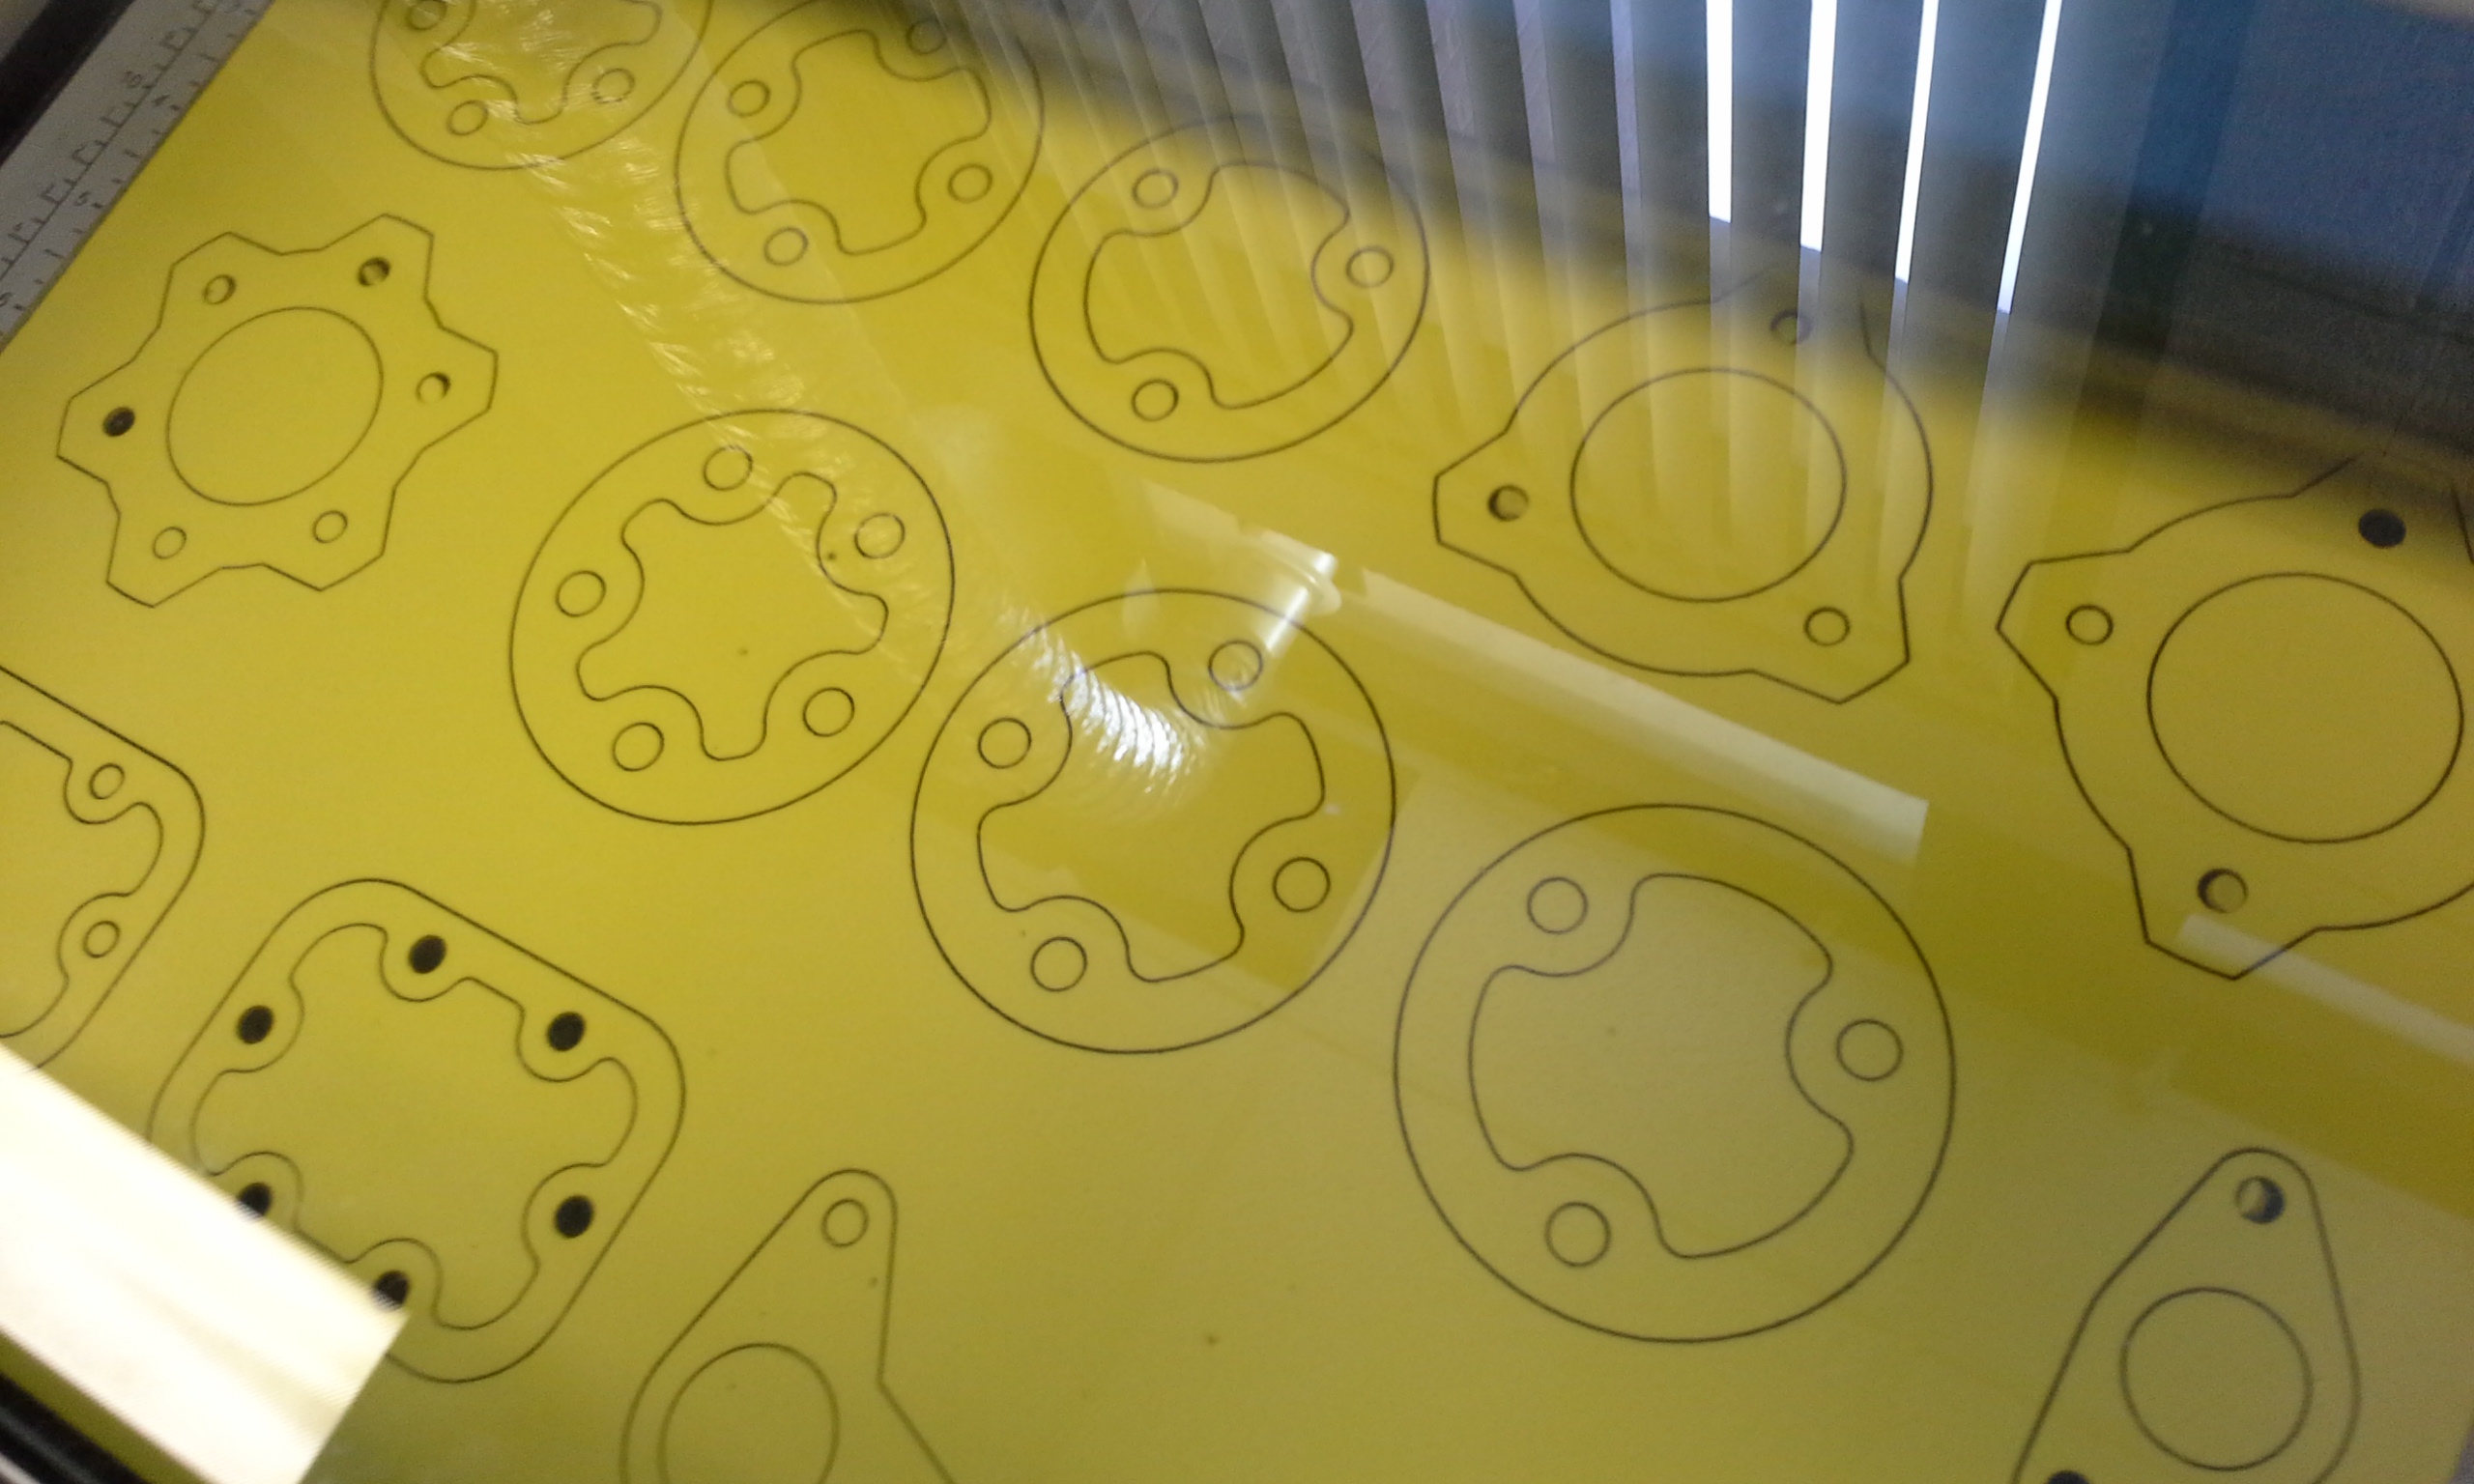
You will be given an EVA foam gasket of a unique design. You will then “reverse engineer” the geometry of the gasket and create a working drawing of it. You will return the gasket and the working drawing to the instructor. The profile of the final part will have a tolerance .020 TIR. NOTE: The gaskets are made with random numbers. Do not try to find the nearest “round number” to what you measure. Measure as accurately as you can.
Phase II – Check a print
At this time, the working drawings from all students will be redistributed to the class. You will now have working drawing done by another student. You are going to use this drawing to create a “toolpath” for the laser cutter. If here is information missing or unclear on the working drawing you received, you must mark it up and return it to the instructor. You get one chance to ask for additional information or clarification. You should try to draw as much of the gasket as you can before returning the marked-up print.
Phase III – Program the Laser
Use AutoCAD to draw the exact geometry of the part as shown on the print. Put this on layer “workpiece.” Now offset this geometry by .010 inches (outside the part). This is to adjust for the kerf width of the laser. The offset geometry is to be put on a layer called “LASER.” It must have a line width of zero and the color must be assigned “By Layer.”
Phase IV – Troubleshoot
The toolpath you generated in Phase III will be used to cut another foam gasket. This gasket will then be checked on an inspection fixture. If there is deviation between your gasket and the original gasket, the discrepancy must be resolved between you and the student who did the working drawing. Redline the part of the print or the program indicating where the error originated. If two students cannot agree on where the error originated, the instructor will arbitrate (arbitration costs both students a letter grade).