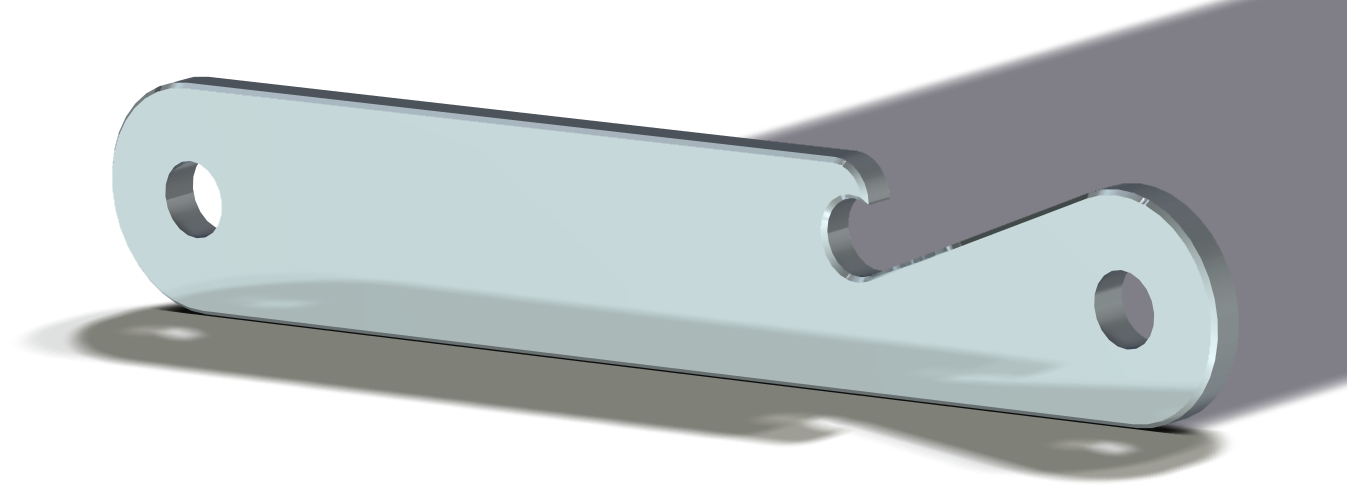
Here are the files for the bottle opener:
Position MCS at center of locating hole (Z zero is top of fixture)
Use .5 EM for roughing
Use .25 EM for finish cut
Use .125 to rest mill detail
—————————-
Using the Realize software:
Here is a link to the original version of Chris Radek’s Realize for AutoCAD
For this assignment you will need to use this version: cncengrave.
Roughing Operation
- Download cncengrave to a convenient directory.
- Draw the geometry of the bottle opener in AutoCAD. Pay attention to where the origin (0,0,0) is. It should be centered between the two holes.
- Create a polyline of the toolpath you want.
- Polyline should be the path that the center of the tool takes around the part.
- Must use arc shaped lead-ins and lead-outs.
- Must leave about 0.010 material all around.
- Must take maximum amount of material out of the opener (jaw) geometry and still leave .010 stock.
- Polyline must be located at z-.010
- Convert the polyline to a HW polyline (command: convertpoly)
- Put the polyline on a layer called “half inch em”.
- Run the appload command. This will create a new command called “engrave“
- Run the engrave command.
- Use .500 for the safety height.
- Enter a path and file at the prompt
- Prompt will be “Output file <C:\ACAD.T>:”
- Enter the path and file you want to write to , e.g., “C:\myfile.txt”
- Select only the polyline you made in the steps above.
- Enter a path to the a directory you can write to.
- Bring your file to the next class period.